
Oracle Database 11gR2 (11.2.0.4) installation on Oracle Linux 6.3
--->> Overview of installation
--->> Hardware Requirements
--->> Host File
--->> Kernel parameters
--->> Packages
--->> Create the new groups and users
--->> Create the directories
--->> Environment file settings
--->> Extract the database software
--->> Start the installer
This article describes the installing of Oracle Database 11g Release 2 (11.2.0.4)(64bit) software on Oracle Linux 6.3(64-bit).
Overview of installation
· Configure your system to support Oracle Database
· Install Oracle Database on a local file system by using the Typical Installation option
· Configure a general-purpose Oracle Database installation that uses the local file system for database file storage
Additional Installation Information
· Install the software on a single system
· Install Oracle Grid Infrastructure for a standalone server
· Install an Oracle Real Application Clusters
Before you start, make sure your Linux server meets the minimum hardware requirements for Install the software on a single system
Hardware requirements:
· 1GB of RAM (plus appropriately sized swap space)
· 4.5GB of disk space for the software installation
· 1GB of disk space for your /tmp directory
--->> Assign the IP address in host file
Hosts File
The "/etc/hosts" file must contain a fully qualified name for the server.
<IP-address> <fully-qualified-machine-name> <machine-name>
For example.
127.0.0.1 localhost.localdomain localhost
192.168.0.2 linux.oracle.com linux
--->> Add or amend the following lines in the "/etc/sysctl.conf" file
add (change) kernel parameters that are required for Oracle installation
fs.suid_dumpable = 1
fs.aio-max-nr = 1048576
fs.file-max = 6815744
kernel.shmall = 2097152
kernel.shmmax = 536870912
kernel.shmmni = 4096
kernel.sem = 250 32000 100 128
net.ipv4.ip_local_port_range = 9000 65500
net.core.rmem_default = 262144
net.core.rmem_max = 4194304
net.core.wmem_default = 262144
net.core.wmem_max = 1048586
Run the following command to change the current kernel parameters.
/sbin/sysctl -p
--->> Add the following lines to the "/etc/security/limits.conf" file.
oracle soft nproc 16384
oracle hard nproc 16384
oracle soft nofile 4096
oracle hard nofile 65536
oracle soft stack 10240
--->> Check the packages installed or not
#rpm -qa <package name>
--->> Install the following packages if they are not already present.
# From Oracle Linux 6 DVD
cd /media/cdrom/Server/Packages
rpm -Uvh binutils-2*x86_64*
rpm -Uvh glibc-2*x86_64* nss-softokn-freebl-3*x86_64*
rpm -Uvh glibc-2*i686* nss-softokn-freebl-3*i686*
rpm -Uvh compat-libstdc++-33*x86_64*
rpm -Uvh glibc-common-2*x86_64*
rpm -Uvh glibc-devel-2*x86_64*
rpm -Uvh glibc-devel-2*i686*
rpm -Uvh glibc-headers-2*x86_64*
rpm -Uvh elfutils-libelf-0*x86_64*
rpm -Uvh elfutils-libelf-devel-0*x86_64*
rpm -Uvh gcc-4*x86_64*
rpm -Uvh gcc-c++-4*x86_64*
rpm -Uvh ksh-*x86_64*
rpm -Uvh libaio-0*x86_64*
rpm -Uvh libaio-devel-0*x86_64*
rpm -Uvh libaio-0*i686*
rpm -Uvh libaio-devel-0*i686*
rpm -Uvh libgcc-4*x86_64*
rpm -Uvh libgcc-4*i686*
rpm -Uvh libstdc++-4*x86_64*
rpm -Uvh libstdc++-4*i686*
rpm -Uvh libstdc++-devel-4*x86_64*
rpm -Uvh make-3.81*x86_64*
rpm -Uvh numactl-devel-2*x86_64*
rpm -Uvh sysstat-9*x86_64*
rpm -Uvh compat-libstdc++-33*i686*
rpm -Uvh compat-libcap*
--->> Create the new groups and users.
Groups:-
groupadd -g 501 oinstall
groupadd -g 502 dba
groupadd -g 503 oper
groupadd -g 504 asmadmin
groupadd -g 506 asmdba
groupadd -g 505 asmoper
User :-
useradd -u 502 -g oinstall -G dba,asmdba,oper oracle
passwd oracle
--->> Create the directories in which the Oracle software will be installed.
mkdir -p /u01/app/PROD/product/11.2.0.4
chown -R oracle:oinstall /u01/app/PROD
chmod -R 775 /u01
--->> Environment file settings
Login as the oracle user and add the following lines at the end of the ".bash_profile" file.
or create the custom env file
[oracle@linux ~]$ cat PROD.env
ORACLE_BASE=/u01/app/PROD; export ORACLE_BASE
ORACLE_HOME=$ORACLE_BASE/product/11.2.0.4; export ORACLE_HOME
ORACLE_SID=PROD; export ORACLE_SID
PATH=$ORACLE_HOME/bin:$PATH; export PATH
[oracle@linux ~]$
--->> Extract the database software
Open the terminal session to the server as the ‘oracle’ user.
unzip the software
$ cd /Stage/DB11g_64bit/
$ unzip -o p13390677_112040_Linux-x86-64_1of7.zip
$ unzip -o p13390677_112040_Linux-x86-64_2of7.zip
--->> Start the installer
Software location as bleow
[oracle@linux database]$ pwd
/Stage/DB11g_64bit/database
[oracle@linux database]$ ./runInstaller
Once the GUI starts, respond as follows:
Configure Security Updates
Uncheck ‘I wish to receive security updates via My Oracle Support’
Next

Confirm with ‘Yes’

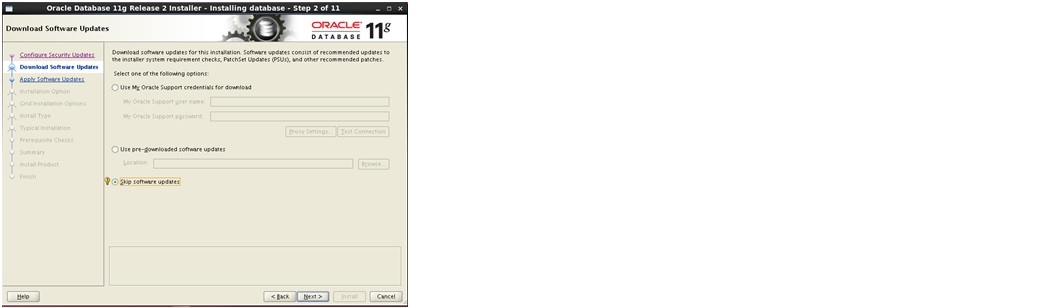
Download Software Updates
Skip software updates
Next
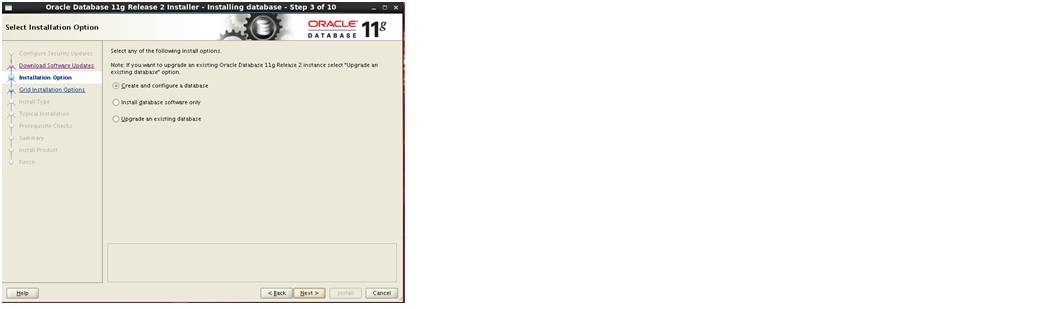
Select create and configure database
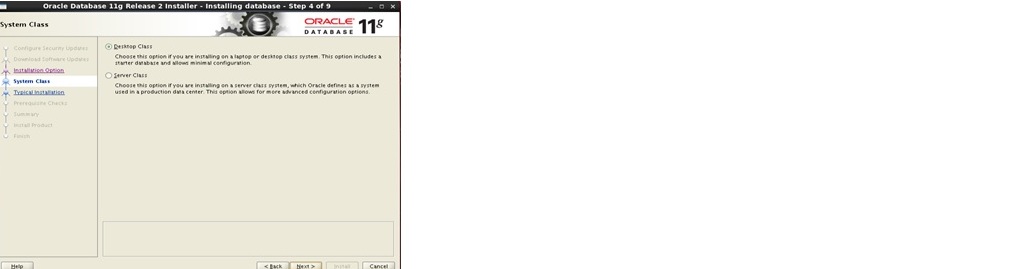
Select Desktop class
Enter Database name and password
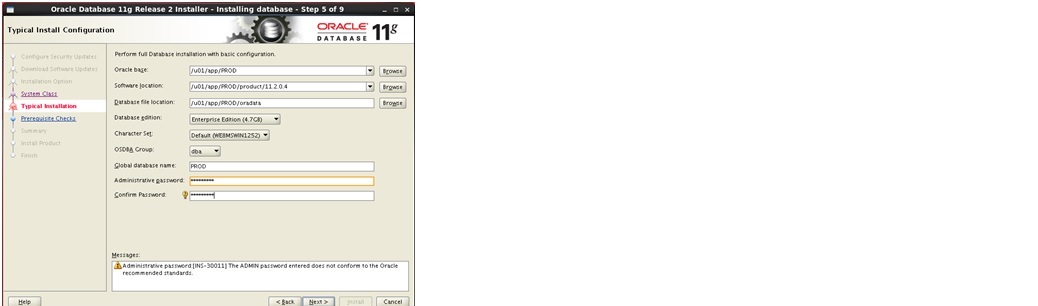
Click on yes

Click on next

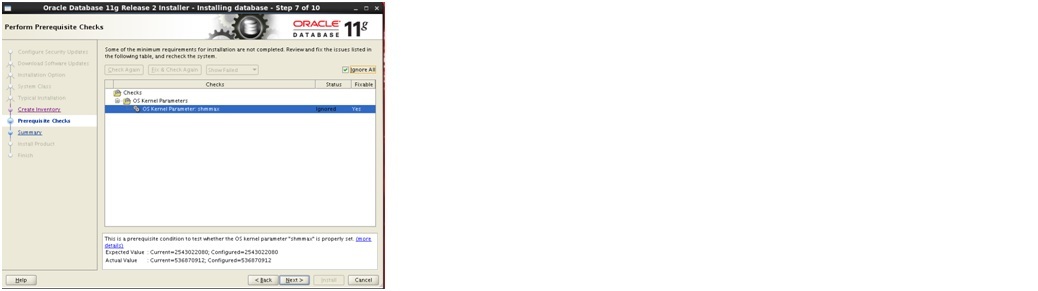
Click on Check Again button and you’ll see that those notifications are disappeared. Check “Ignore all” checkbox and click next

Click on yes
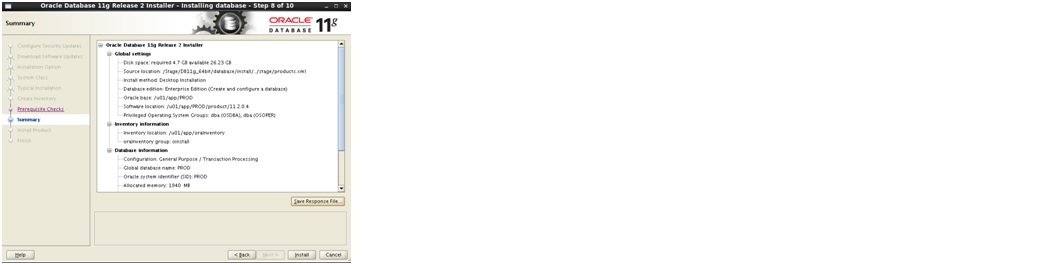
Click on install
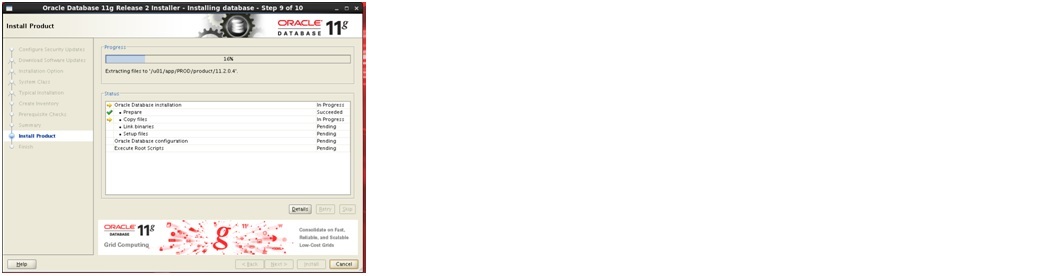
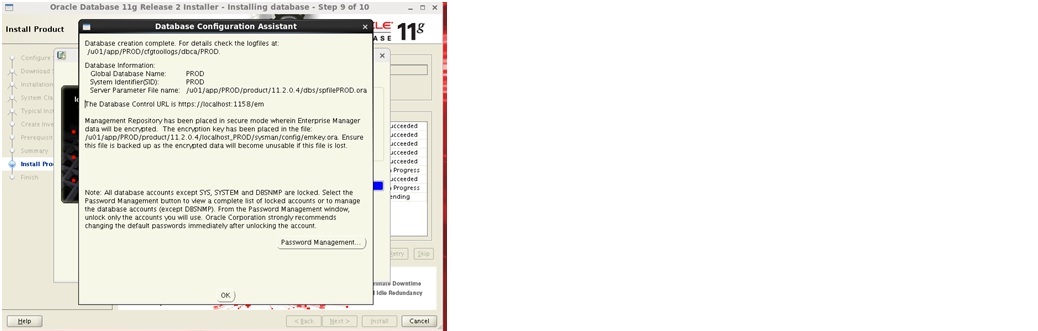
Installation progress, please wait few minits
Click on OK
Open the terminal session to the server as the ‘root’ user.
And run the bleow scripts
[root@linux Stage]# /u01/app/oraInventory/orainstRoot.sh
Changing permissions of /u01/app/oraInventory.
Adding read,write permissions for group.
Removing read,write,execute permissions for world.
Changing groupname of /u01/app/oraInventory to oinstall.
The execution of the script is complete.
[root@linux Stage]# /u01/app/PROD/product/11.2.0.4/root.sh
Performing root user operation for Oracle 11g
The following environment variables are set as:
ORACLE_OWNER= oracle
ORACLE_HOME= /u01/app/PROD/product/11.2.0.4
Enter the full pathname of the local bin directory: [/usr/local/bin]:
Copying dbhome to /usr/local/bin ...
Copying oraenv to /usr/local/bin ...
Copying coraenv to /usr/local/bin ...
Creating /etc/oratab file...
Entries will be added to the /etc/oratab file as needed by
Database Configuration Assistant when a database is created
Finished running generic part of root script.
Now product-specific root actions will be performed.
Finished product-specific root actions.
[root@linux Stage]#
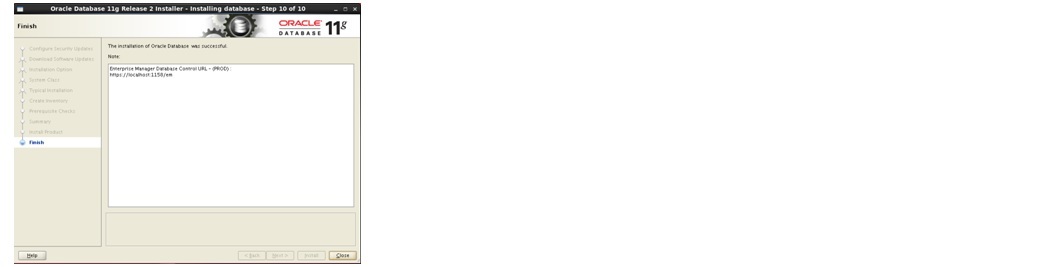
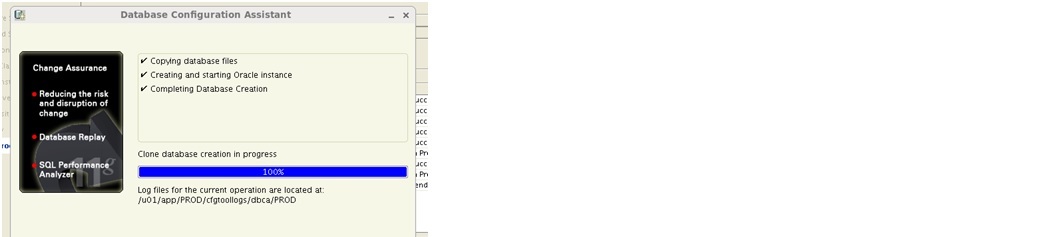
Click on close
Check the Database name and status
Open new terminal as oracle user
Run env file
$. PROD.env
$sqlplus ‘/as sysdba’
SQL> select name from v$database;
NAME
---------
PROD
SQL> select status from v$instance;
STATUS
------------
OPEN
SQL>